Matthew Lehner
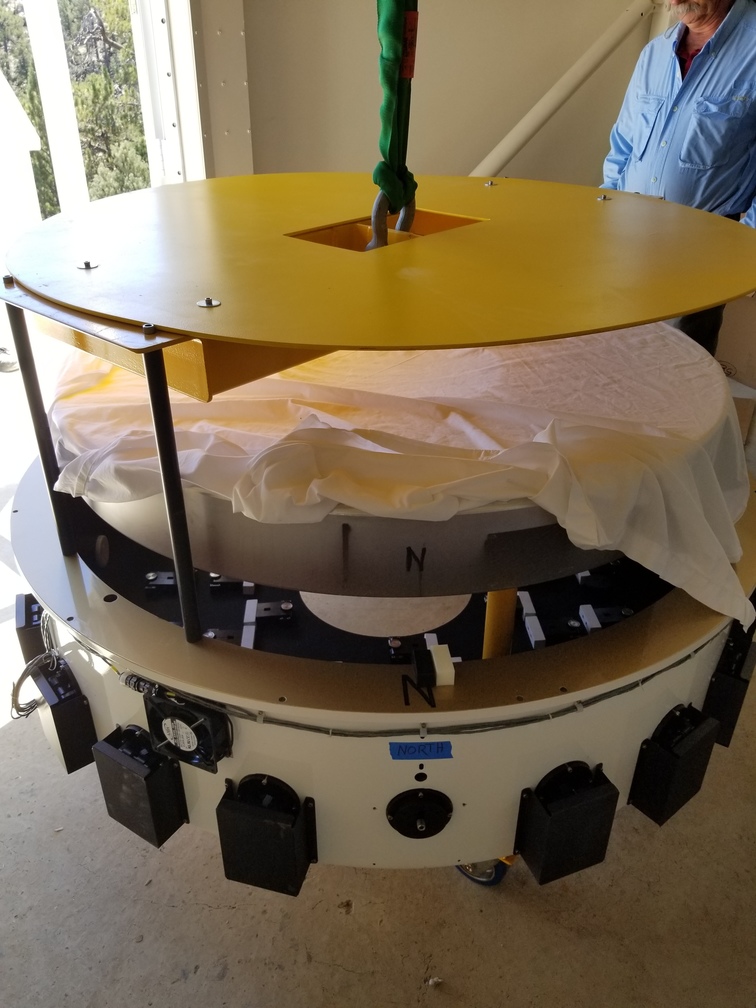
We started installation of the primary mirror into the mirror cell at Site #1 this morning. We got the mirror centered and leveled relative to the mirror cell, then at the end of the day we were able to glue the blocks onto the side of the mirror which are attached to the radial support arms. We left the mirror cell covered with a space heater underneath to help cure the glue overnight, and we plan to install the mirror cell onto the telescope in the morning. After that, we will work on getting the secondary mirror installed.
Here are some photos from the work today.
Preparing to remove primary mirror form the crate.

Setting mirror down on the extraction tool.
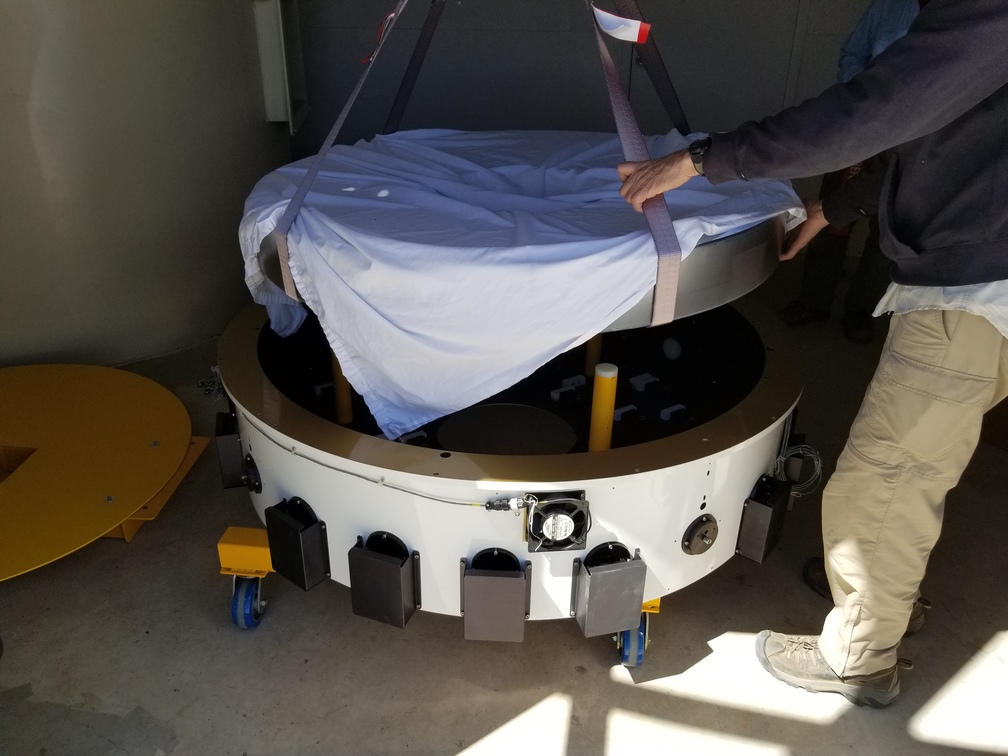
Installation of spreader bar and spacers to lift mirror cell up around mirror.
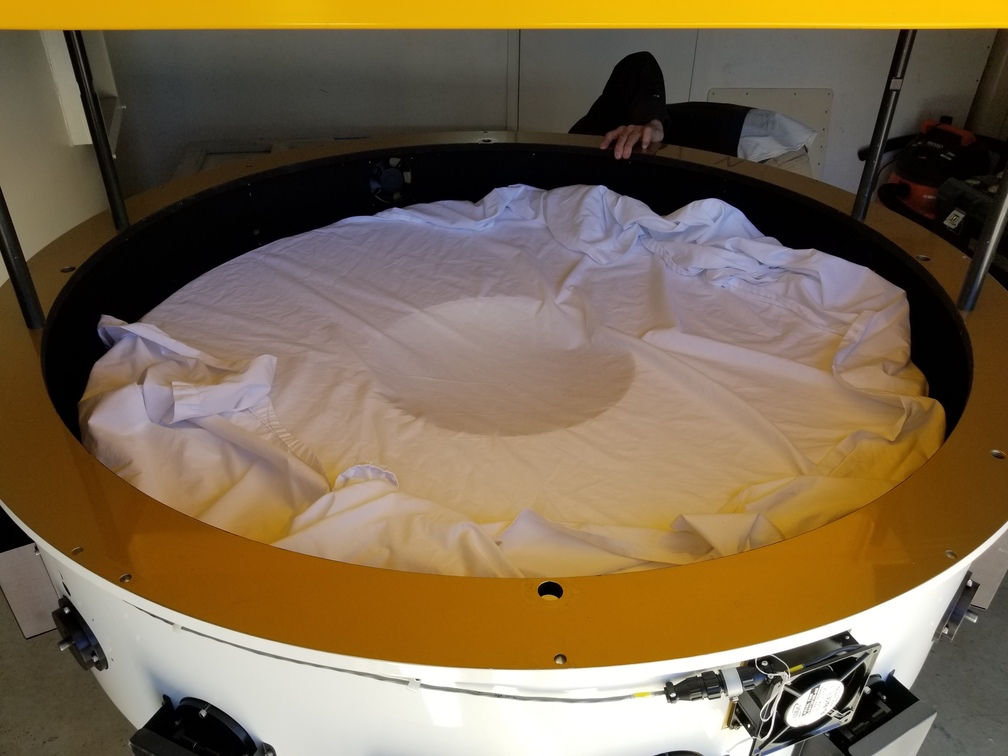
Mirror now resting in the mirror cell.
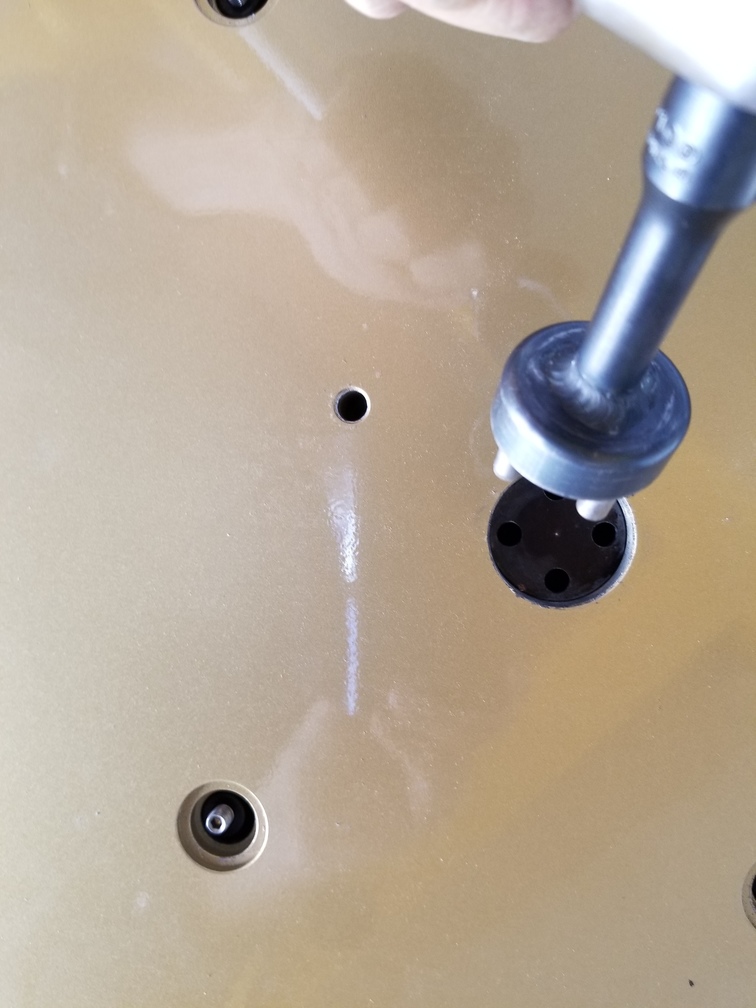
Dial indicators installed on the bottom of the mirror cell. The shafts of the indicators go through a hole in the bottom of the cell and measure the position of the bottom of the mirror, allowing accurate leveling of the mirror.
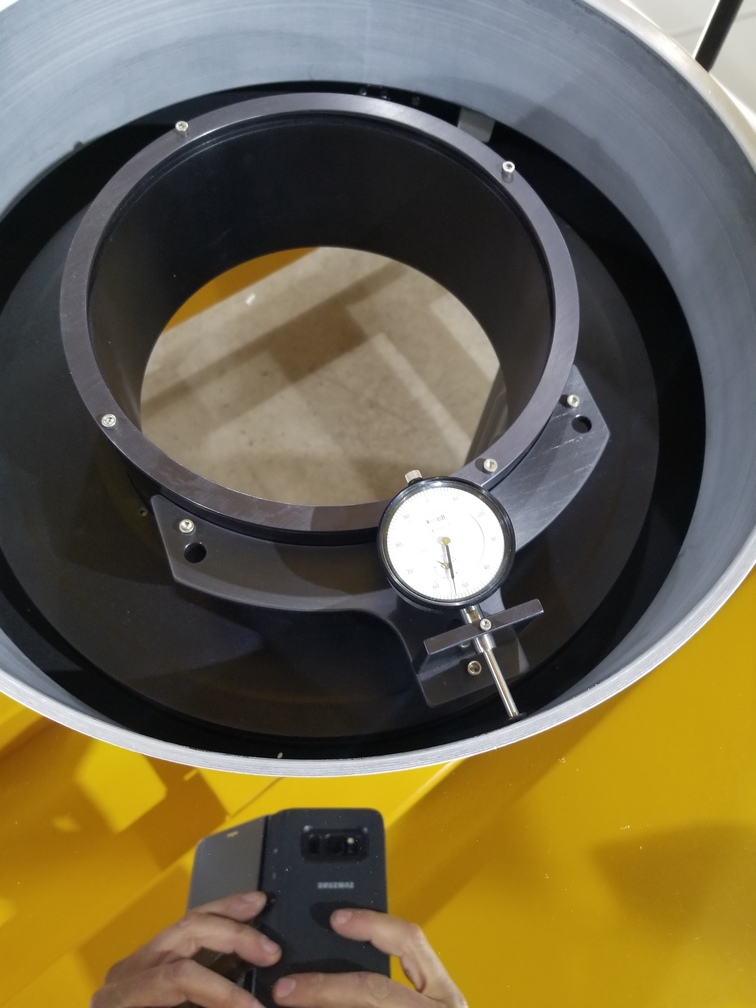
Using a standard reference (the black cylinder) to set the distance between the mirror cell flange and the top of the mirror.
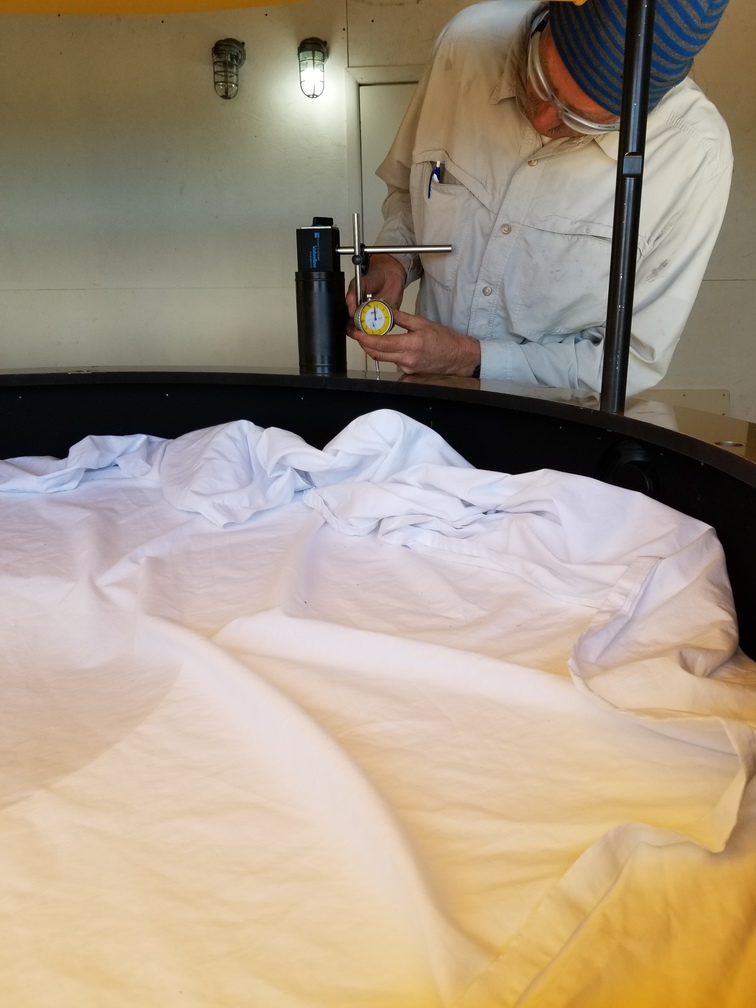
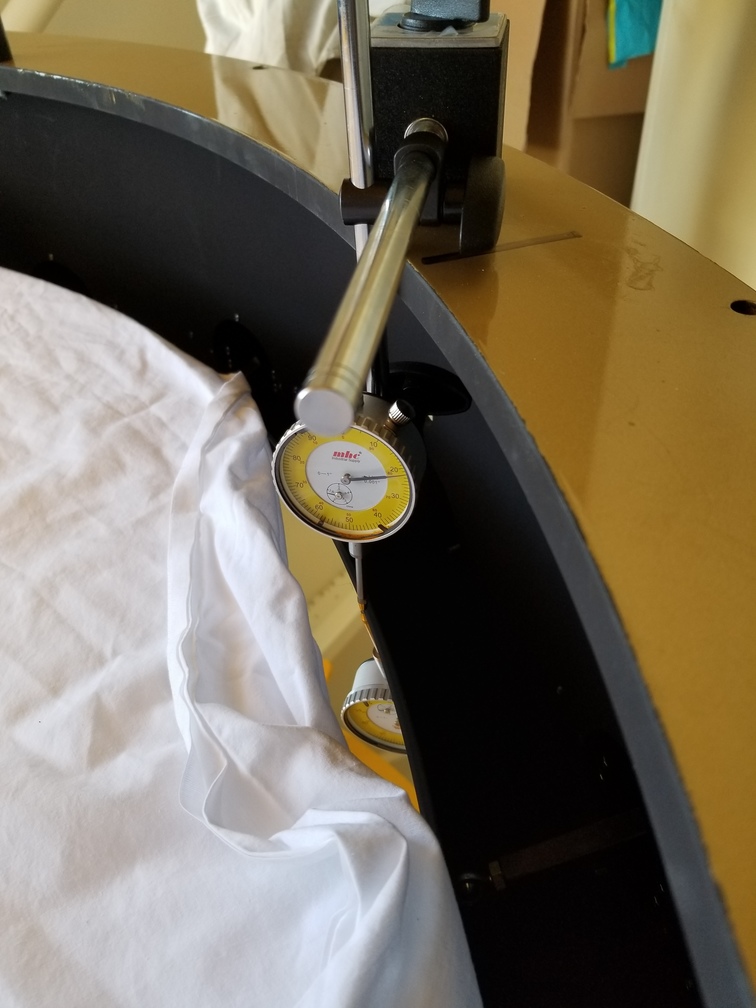
Using the dial indicator set to the reference position to measure distance to top of mirror, so we can adjust leveling.
Custom tool to adjust mirror tilt from underneath the mirror cell.
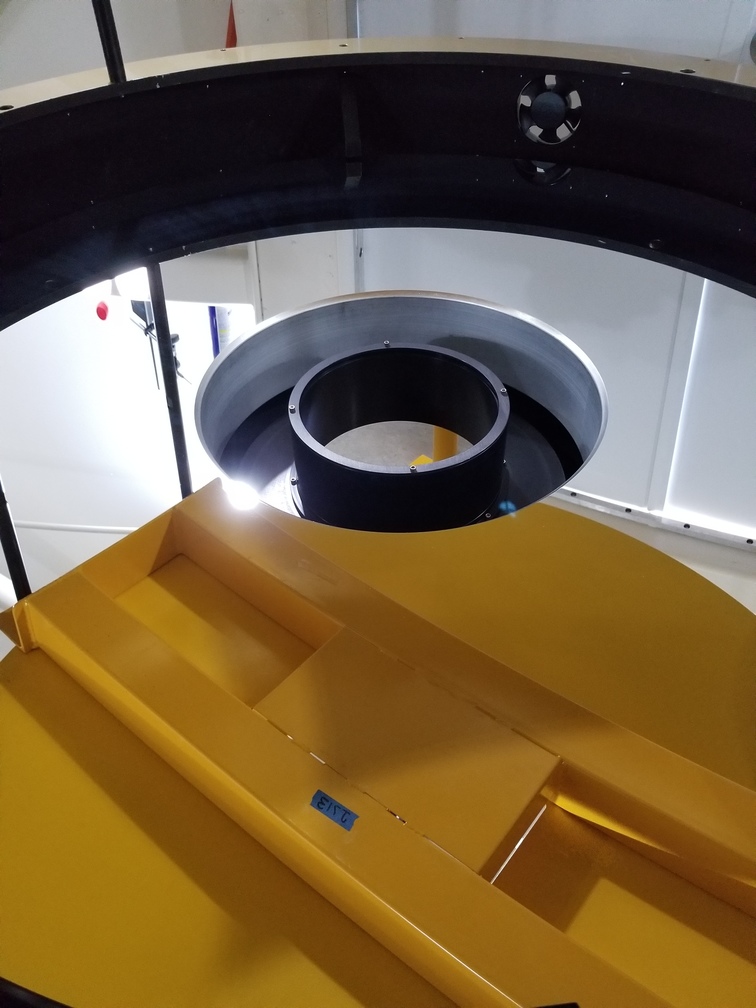
Field corrector cell. This bolts to the bottom of the mirror cell and extends through the hole in the bottom of the primary mirror. It provides a reference surface against which we center the mirror in the cell.

Field corrector cell installed in mirror cell.
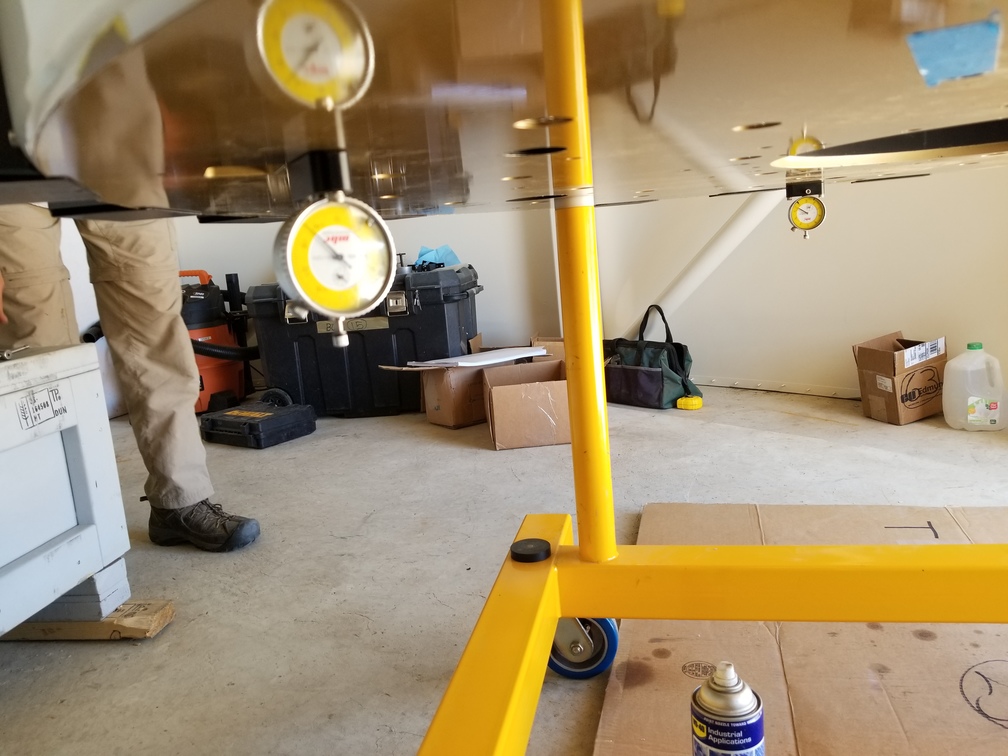
Custom tool to measure distance from inner diameter of the mirror to outer diameter of the mirror cell. (The yellow on the bottom and the cell phone are a reflection off of the mirror.)
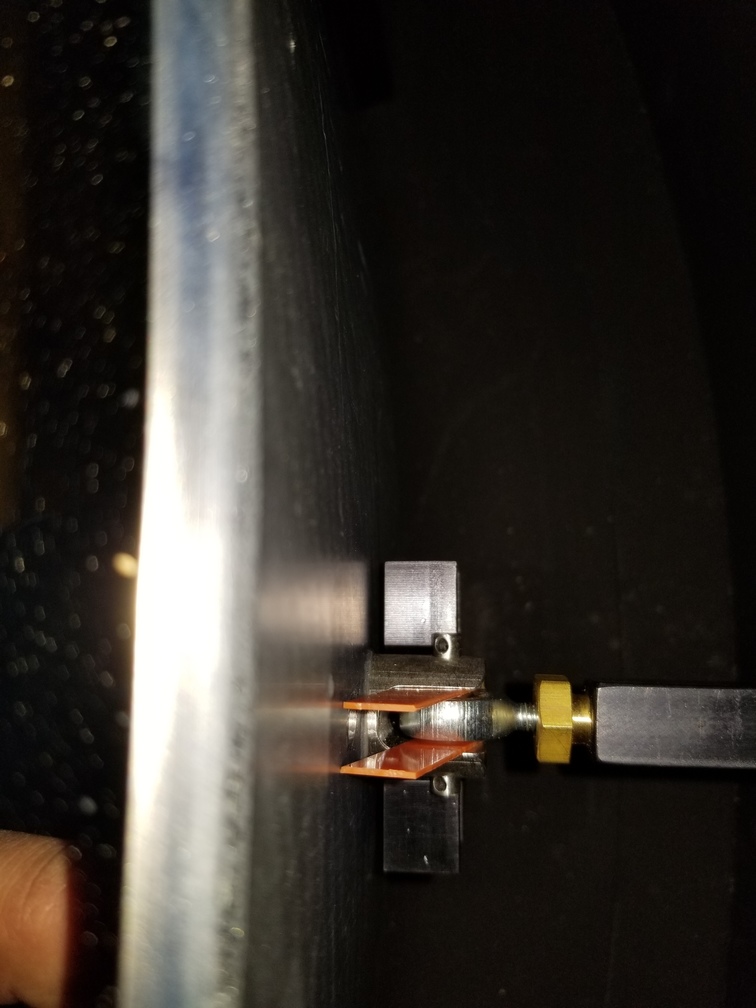
Block for attaching the mirror to the radial support arm glued onto the outer edge of the mirror. We glued all 16 of these into place by the end of the day, so we can let the glue dry overnight.